
Kirstie brought me this cute little wash stand to make-over. Who doesn't love a good make-over?
Isn't it gorgeous? It needed a little bit of an update though. Kirstie wanted a taupe color; we decided that Annie Sloan's French Linen was the color to paint. But . . . there was something different she wanted. Something I haven't tried yet. She wanted the top a dark color, yet natural if I could do it.
I didn't take a picture of the top piece, but it had a couple of water rings or burn rings, hard to tell which. I was a little afraid of those.
But I didn't have to be. My husband came to my rescue, and sanded it down to a perfect natural top. It didn't even need to be stained, just a little wax finish and it would've been good to go. We had our direction though, and the hubs got right to it. I got home form work and he had it all perfectly stained, looking absolutely gorgeous. If I had a picture to show you, I would, but he's so on top of things, he taped it all up before I had a chance to snaps some photos.
Here it is post stain, pre-paint.
 |
| Almost ready for paint. |
 |
| First coat of paint |
 |
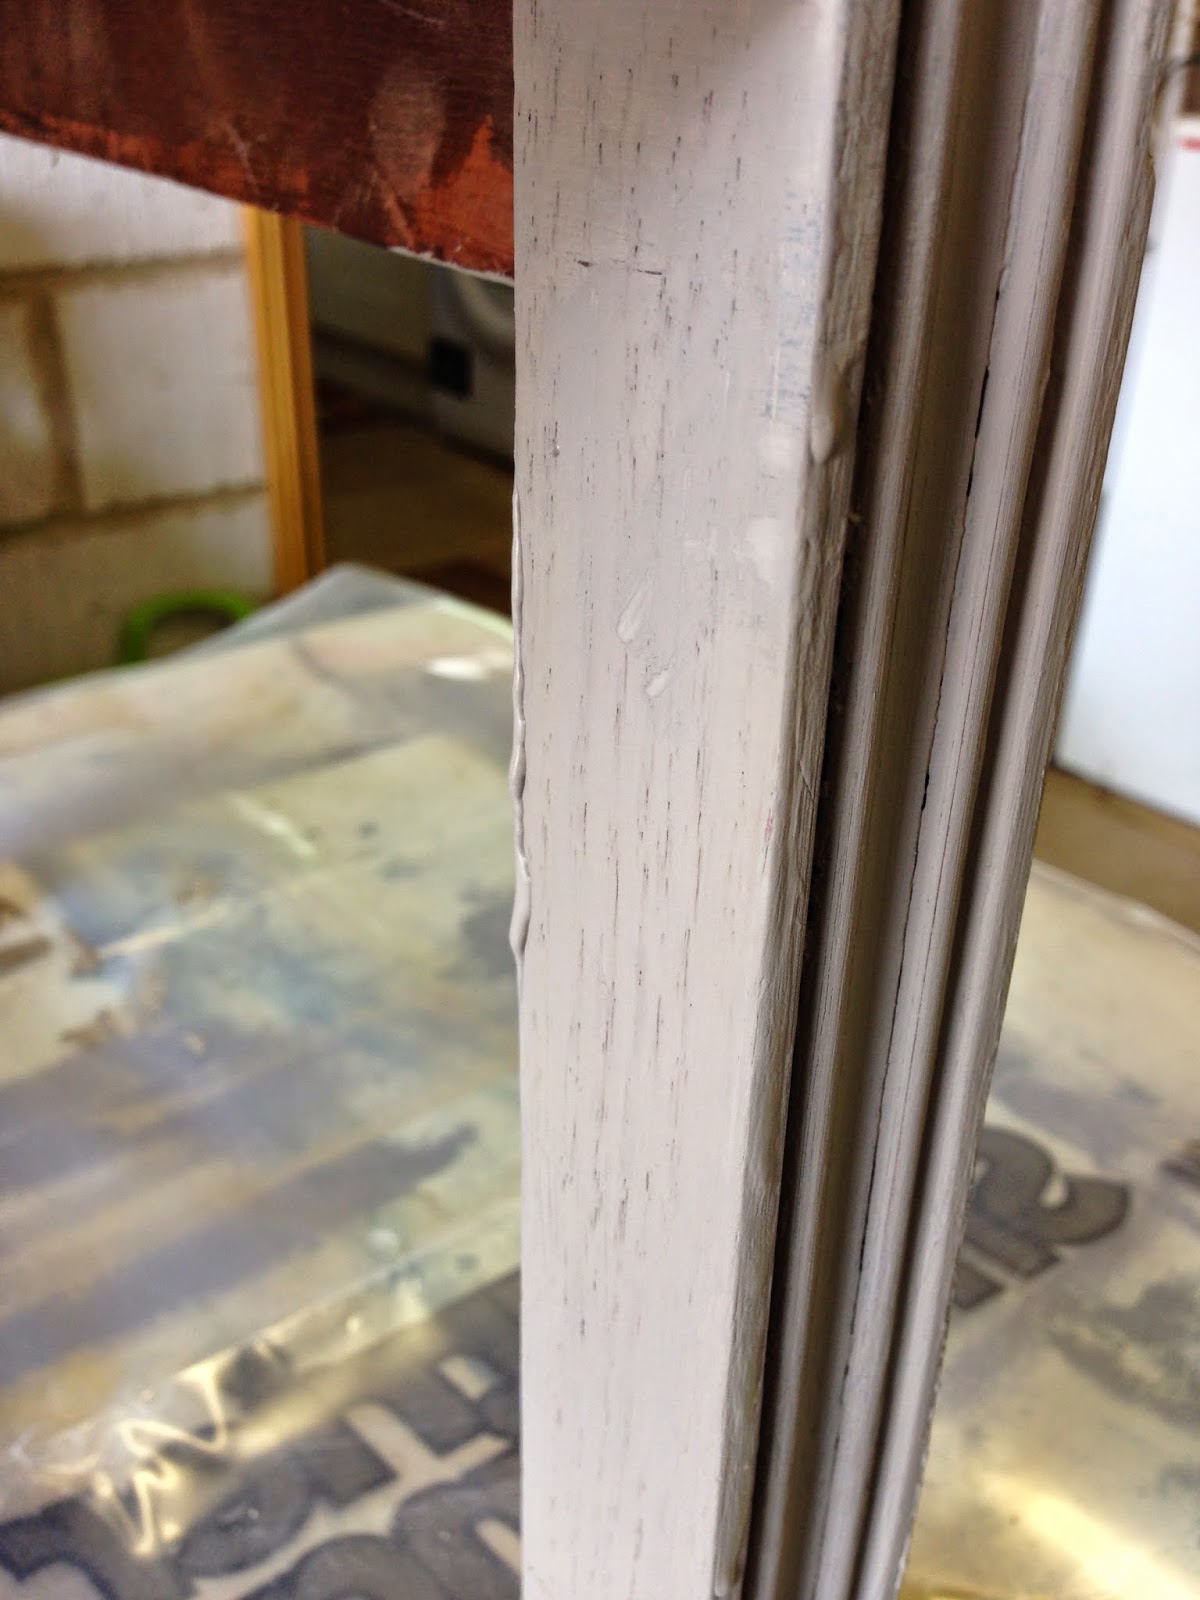
| For sanding off the drips, and because it's the first coat of paint, I just use any old rough sandpaper I have laying around. This was 150 grit, I believe. |
Next comes the second coat of paint. Chalk paint is renowned for not needing a second coat, but I find with older, more used pieces such as this that sometimes the paint doesn't take as well as it should, so a second coat is essential. Also, depending on the furniture and the paint batch, the second coat won't take as easily as the first. To remedy this, I just barely dip my paintbrush into water before I coat it in paint. This also keeps the brush stroke to a minimum (which leaves a more polished finish- good if that's what you're after).
|
| First coat |
 |
| Second coat |
My neighbor came by to see what I was up to one day while I was putting the first coat on a telephone table and his remark was, in a completely shocked tone, "So, it's just a matte gray color?". "No. No good sir, it's not. Okay, well maybe it is right now, but it won't end up that way. It will end up as a beautiful work of art."
It's not always easy to imagine a piece of furniture while it's undergoing transformation, because there are so many little bits that go into making it perfect, but don't underestimate what you're doing. When this is finished, and when you're finished with your piece, they're are going to be masterpieces.
It's not always easy to imagine a piece of furniture while it's undergoing transformation, because there are so many little bits that go into making it perfect, but don't underestimate what you're doing. When this is finished, and when you're finished with your piece, they're are going to be masterpieces.
No comments:
Post a Comment